
Procedure

Since Dify API extensions require a publicly accessible address as the API Endpoint, the API extension needs to be deployed to a public address. Here we use Cloudflare Workers to deploy the API extension. Clone the Example GitHub Repository. This repository contains a simple API extension that can be modified as a starting point.
git clone https://github.com/crazywoola/dify-extension-workers.git
cp wrangler.toml.example wrangler.toml
Open the wrangler.toml file and modify name and compatibility_date to your application name and compatibility date. The configuration we need to pay attention to here is the TOKEN in vars. When adding an API extension in Dify, we need to fill in this Token. For security reasons, we recommend using a random string as the Token. You should not write the Token directly in the source code, but pass it through environment variables. Therefore, please do not commit wrangler.toml to your code repository.
name = "dify-extension-example"
compatibility_date = "2023-01-01"

[vars]
TOKEN = "bananaiscool"
This API extension will return a random Breaking Bad quote. You can modify the logic of this API extension in src/index.ts. This example demonstrates how to interact with third-party APIs.
// ⬇️ implement your logic here ⬇️
// point === "app.external_data_tool.query"
// https://api.breakingbadquotes.xyz/v1/quotes
const count = params?.inputs?.count ?? 1;
const url = `https://api.breakingbadquotes.xyz/v1/quotes/${count}`;
const result = await fetch(url).then(res => res.text())
// ⬆️ implement your logic here ⬆️
This repository simplifies all configurations except business logic. You can directly use npm commands to deploy your API extension.
npm install
npm run deploy
After successful deployment, you will get a public address that you can add in Dify as the API Endpoint. Please note not to omit the 
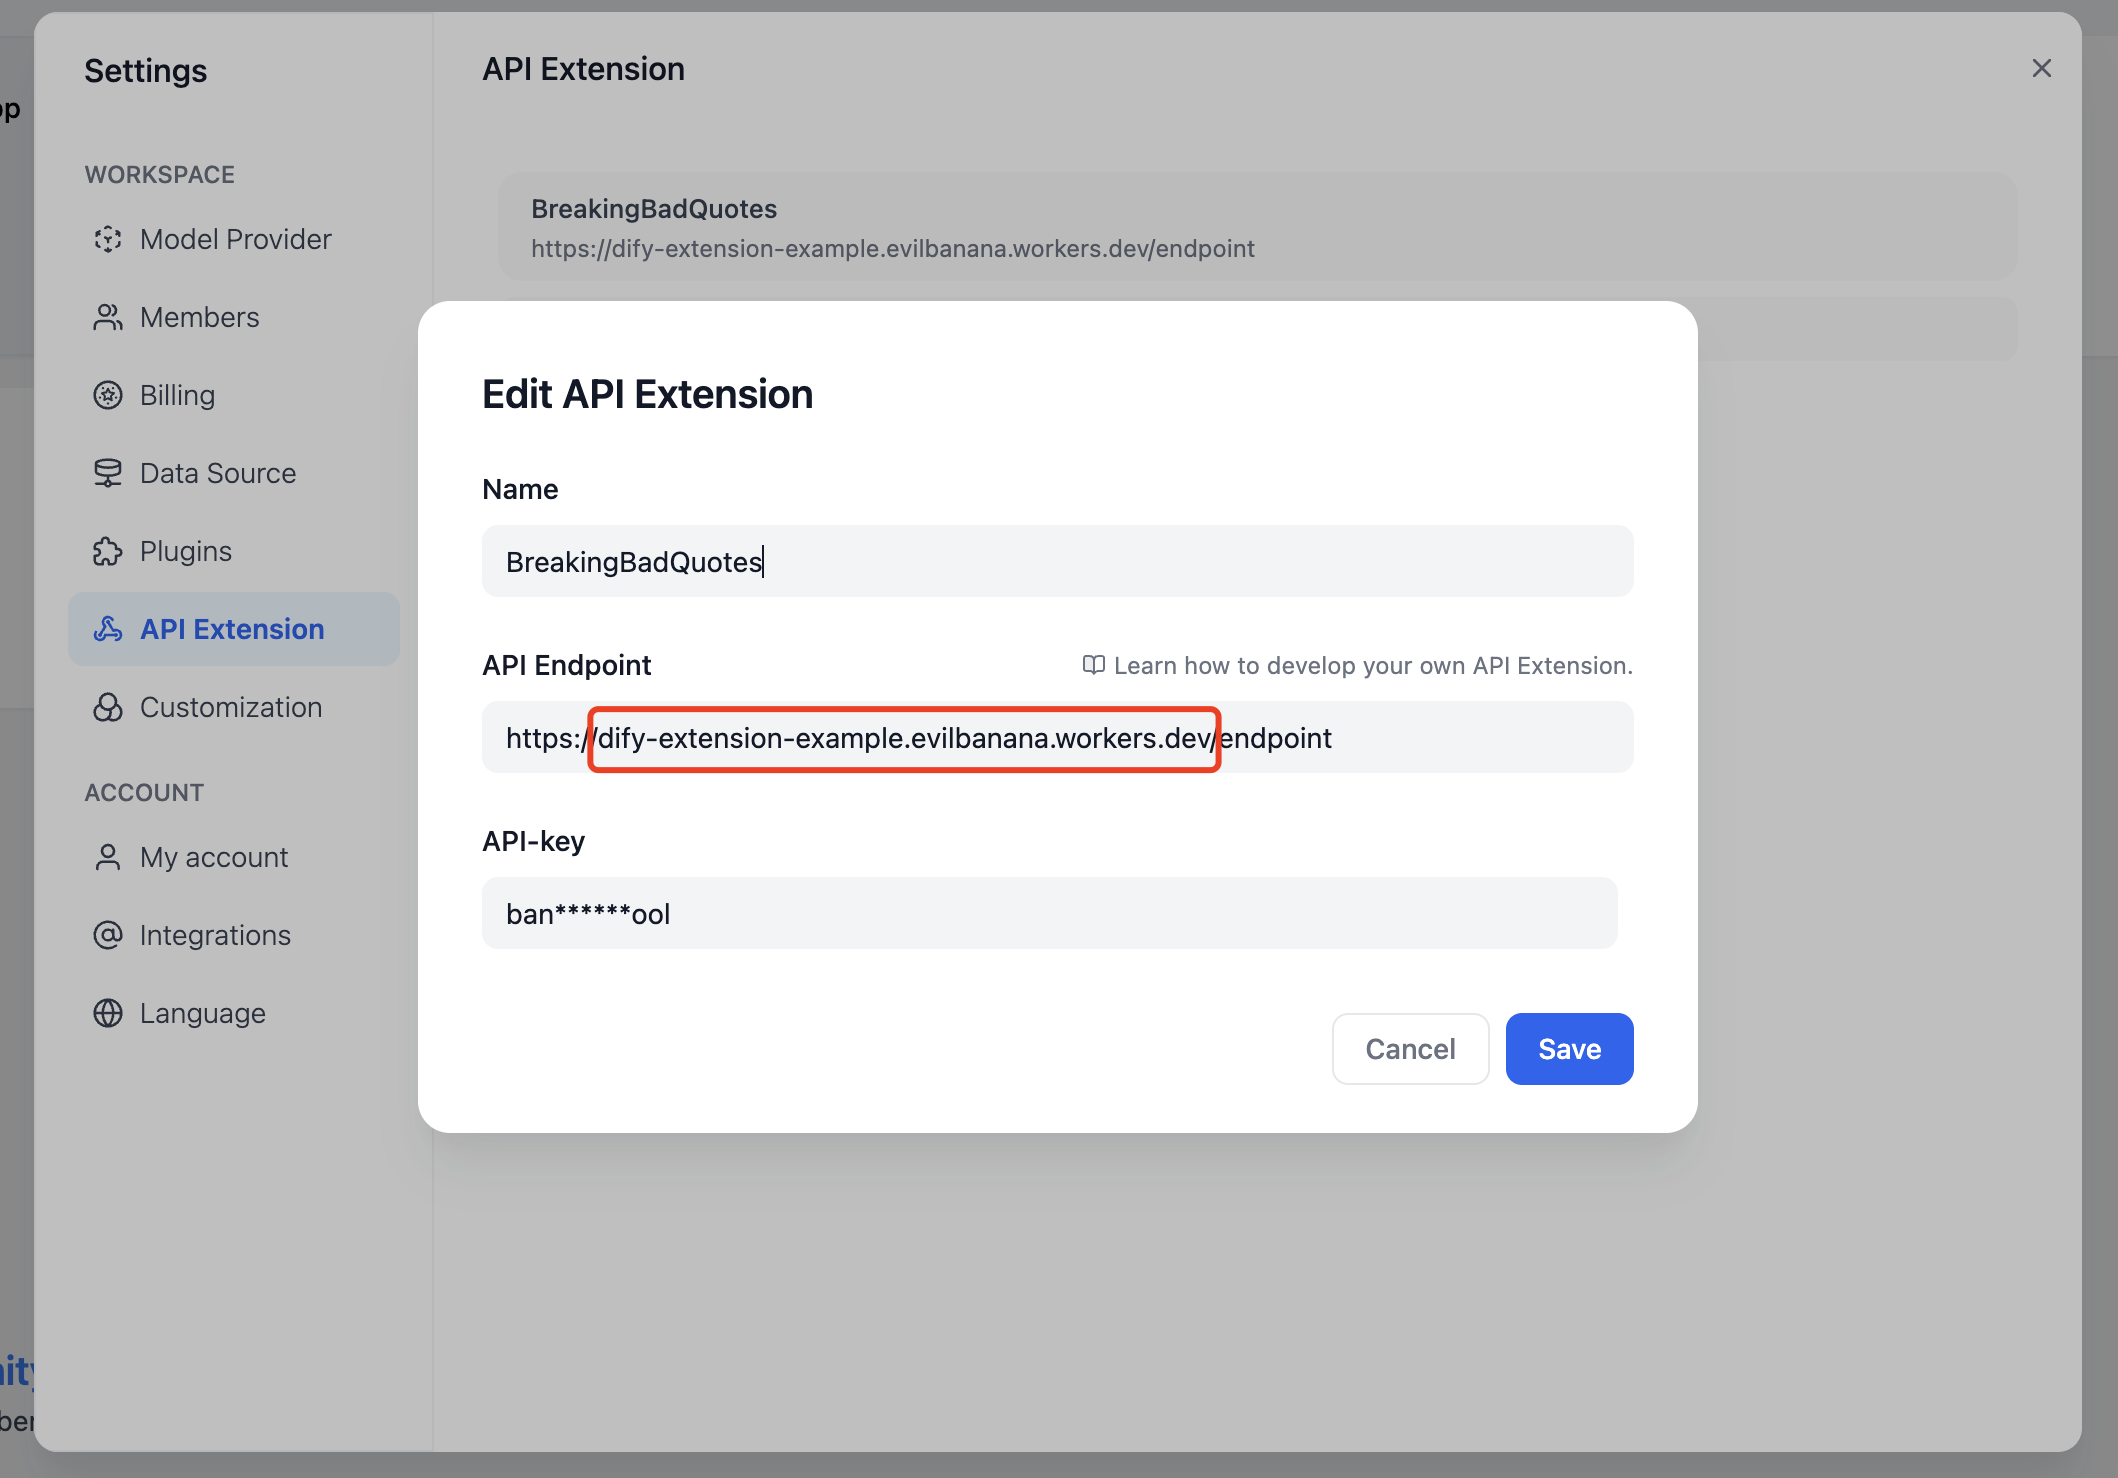
endpoint path. The specific definition of this path can be found in src/index.ts. Add API Endpoint in Dify Alternatively, you can use the npm run dev command to deploy locally for testing.
npm install
npm run dev
Related output:
$ npm run dev
> dev
> wrangler dev src/index.ts

 ⛅️ wrangler 3.99.0
-------------------

Your worker has access to the following bindings:
- Vars:
  - TOKEN: "ban****ool"
 Starting local server...
[wrangler:inf] Ready on http://localhost:58445
After that, you can use tools like Postman for local interface debugging.

About Bearer Auth

import { bearerAuth } from "hono/bearer-auth";

(c, next) => {
    const auth = bearerAuth({ token: c.env.TOKEN });
    return auth(c, next);
},
Our Bearer validation logic is in the above code. We use the hono/bearer-auth package to implement Bearer validation. You can use c.env.TOKEN in src/index.ts to get the Token.

About Parameter Validation

import { z } from "zod";
import { zValidator } from "@hono/zod-validator";

const schema = z.object({
  point: z.union([
    z.literal("ping"),
    z.literal("app.external_data_tool.query"),
  ]), // Restricts 'point' to two specific values
  params: z
    .object({
      app_id: z.string().optional(),
      tool_variable: z.string().optional(),
      inputs: z.record(z.any()).optional(),
      query: z.any().optional(),  // string or null
    })
    .optional(),
});

We use zod to define parameter types here. You can use zValidator in src/index.ts to validate parameters. Use const { point, params } = c.req.valid("json"); to get the validated parameters. The point here has only two values, so we use z.union to define it. params is an optional parameter, so we use z.optional to define it. There will be an inputs parameter, which is a Record<string, any> type. This type represents an object with string keys and any values. This type can represent any object. You can use params?.inputs?.count in src/index.ts to get the count parameter.

Get Cloudflare Workers Logs

wrangler tail

Reference: