メインコンテンツへスキップ

はじめに

Dify API 拡張は API Endpoint としてアクセス可能な公開ネットワークアドレスを使用する必要があるため、API 拡張を公開ネットワークアドレスにデプロイする必要があります。 ここでは Cloudflare Workers を使用して API 拡張をデプロイします。 Example GitHub Repository をクローンします。このリポジトリには簡単な API 拡張が含まれており、これをベースに変更できます。
git clone https://github.com/crazywoola/dify-extension-workers.git
cp wrangler.toml.example wrangler.toml
wrangler.toml ファイルを開き、namecompatibility_date をアプリケーション名と互換性日付に変更します。 ここで注意が必要な設定は、vars 内の TOKEN です。Dify で API 拡張を追加する際に、この Token を入力する必要があります。セキュリティ上の理由から、Token としてランダムな文字列を使用することをお勧めします。ソースコードに直接 Token を書き込むのではなく、環境変数を使用して Token を渡すべきです。そのため、wrangler.toml をコードリポジトリにコミットしないでください。
name = "dify-extension-example"
compatibility_date = "2023-01-01"

[vars]
TOKEN = "bananaiscool"
この API 拡張はランダムな Breaking Bad の名言を返します。src/index.ts でこの API 拡張のロジックを変更できます。この例は、サードパーティ API とのやり取り方法を示しています。
// ⬇️ implement your logic here ⬇️
// point === "app.external_data_tool.query"
// https://api.breakingbadquotes.xyz/v1/quotes
const count = params?.inputs?.count ?? 1;
const url = `https://api.breakingbadquotes.xyz/v1/quotes/${count}`;
const result = await fetch(url).then(res => res.text())
// ⬆️ implement your logic here ⬆️
このリポジトリはビジネスロジック以外のすべての設定を簡略化しています。npm コマンドを直接使用して API 拡張をデプロイできます。
npm install
npm run deploy
デプロイが成功すると、公開ネットワークアドレスが取得できます。このアドレスを Dify の API Endpoint として追加できます。
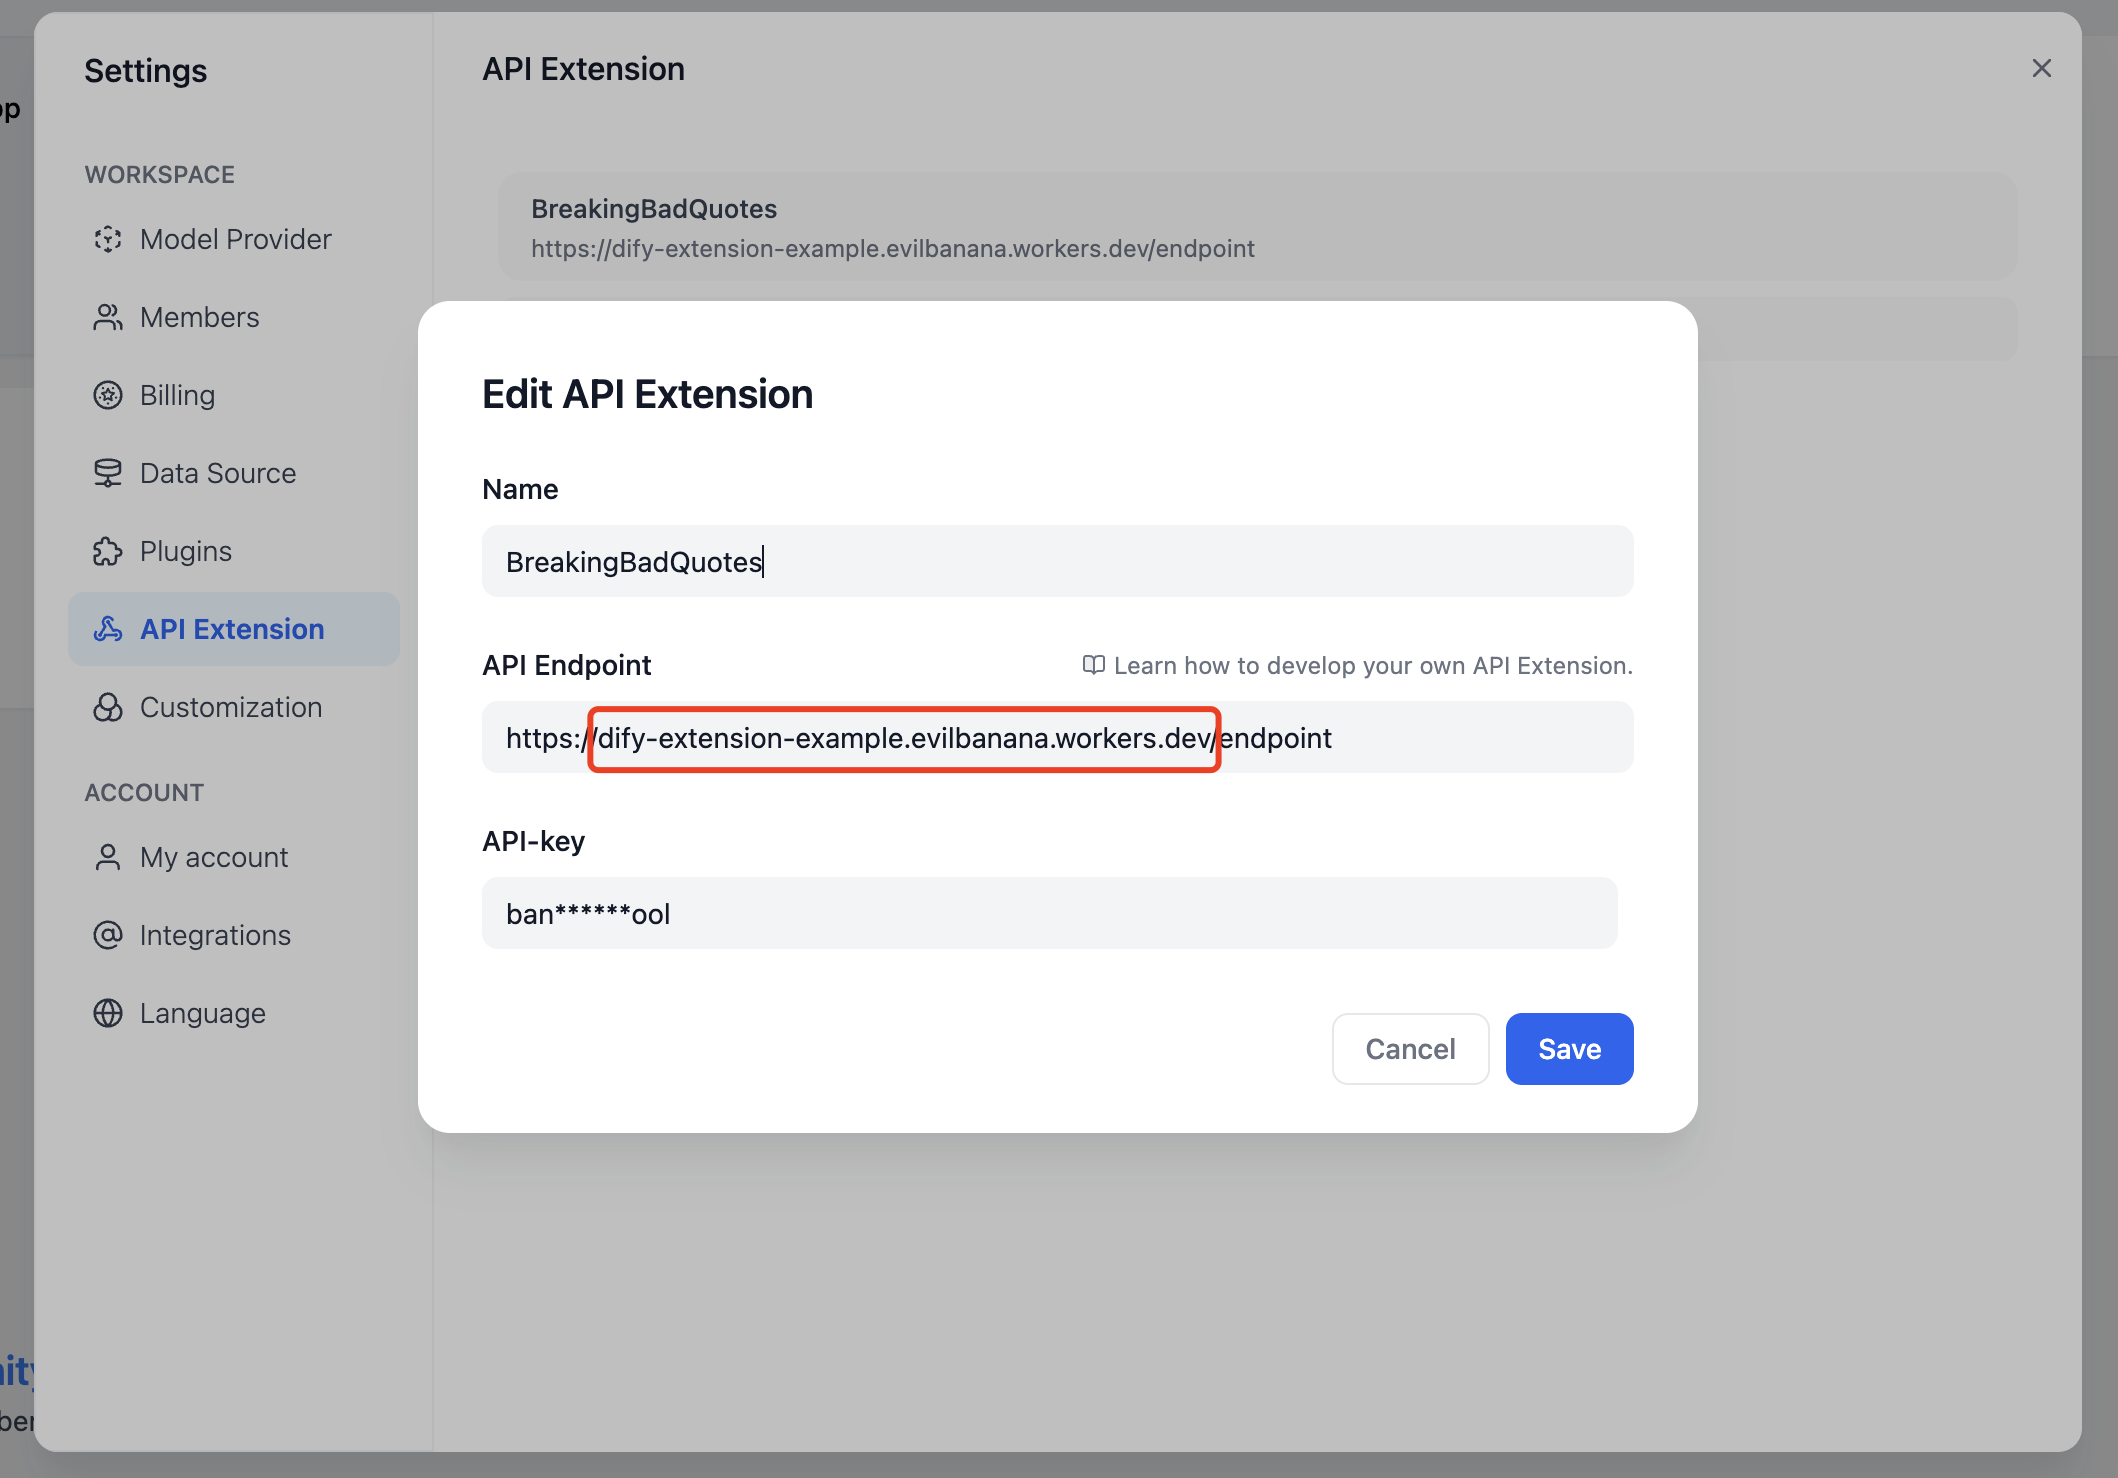
endpoint パスを忘れないでください。このパスの具体的な定義は src/index.ts で確認できます。 Dify で API Endpoint を追加 また、npm run dev コマンドを使用してローカルにデプロイしてテストすることもできます。
npm install
npm run dev
関連する出力:
$ npm run dev
> dev
> wrangler dev src/index.ts

 ⛅️ wrangler 3.99.0
-------------------

Your worker has access to the following bindings:
- Vars:
  - TOKEN: "ban****ool"
 Starting local server...
[wrangler:inf] Ready on http://localhost:58445
その後、Postman などのツールを使用してローカルインターフェースをデバッグできます。

Bearer Auth について

import { bearerAuth } from "hono/bearer-auth";

(c, next) => {
    const auth = bearerAuth({ token: c.env.TOKEN });
    return auth(c, next);
},
Bearer 検証ロジックは上記のコードにあります。hono/bearer-auth パッケージを使用して Bearer 検証を実装しています。src/index.tsc.env.TOKEN を使用して Token を取得できます。

パラメータ検証について

import { z } from "zod";
import { zValidator } from "@hono/zod-validator";

const schema = z.object({
  point: z.union([
    z.literal("ping"),
    z.literal("app.external_data_tool.query"),
  ]), // Restricts 'point' to two specific values
  params: z
    .object({
      app_id: z.string().optional(),
      tool_variable: z.string().optional(),
      inputs: z.record(z.any()).optional(),
      query: z.any().optional(),  // string or null
    })
    .optional(),
});

ここでは zod を使用してパラメータの型を定義しています。src/index.tszValidator を使用してパラメータを検証できます。const { point, params } = c.req.valid("json"); で検証済みパラメータを取得します。 ここでの point は 2 つの値しかないため、z.union を使用して定義しています。params はオプションのパラメータなので、z.optional を使用して定義しています。その中には inputs パラメータがあり、これは Record<string, any> 型です。この型は、キーが string で値が any のオブジェクトを表します。この型は任意のオブジェクトを表すことができます。src/index.tsparams?.inputs?.count を使用して count パラメータを取得できます。

Cloudflare Workers のログを取得

wrangler tail

参考資料